


Swim Along With Me: Quilt Pullover
Swim Along With Me: Quilt Pullover
February 2024 Blog Post


Hello!! Welcome to Swim Along With Me. Each month, I’ll be making something different, and I’ll invite you to come on in for a glimpse at the process. This means, start to finish, photos and everything, you’ll see how I make. If your inbox truncates this post, click here to read it fully on substack.


Welcome to my studio! This is the sewing half of it. Though I’m still in need of a longer, permanent worktable, having this space is like the coolest thing ever. I love that I don’t have to put away my tools and supplies, and that I can have my little quilt block wall.

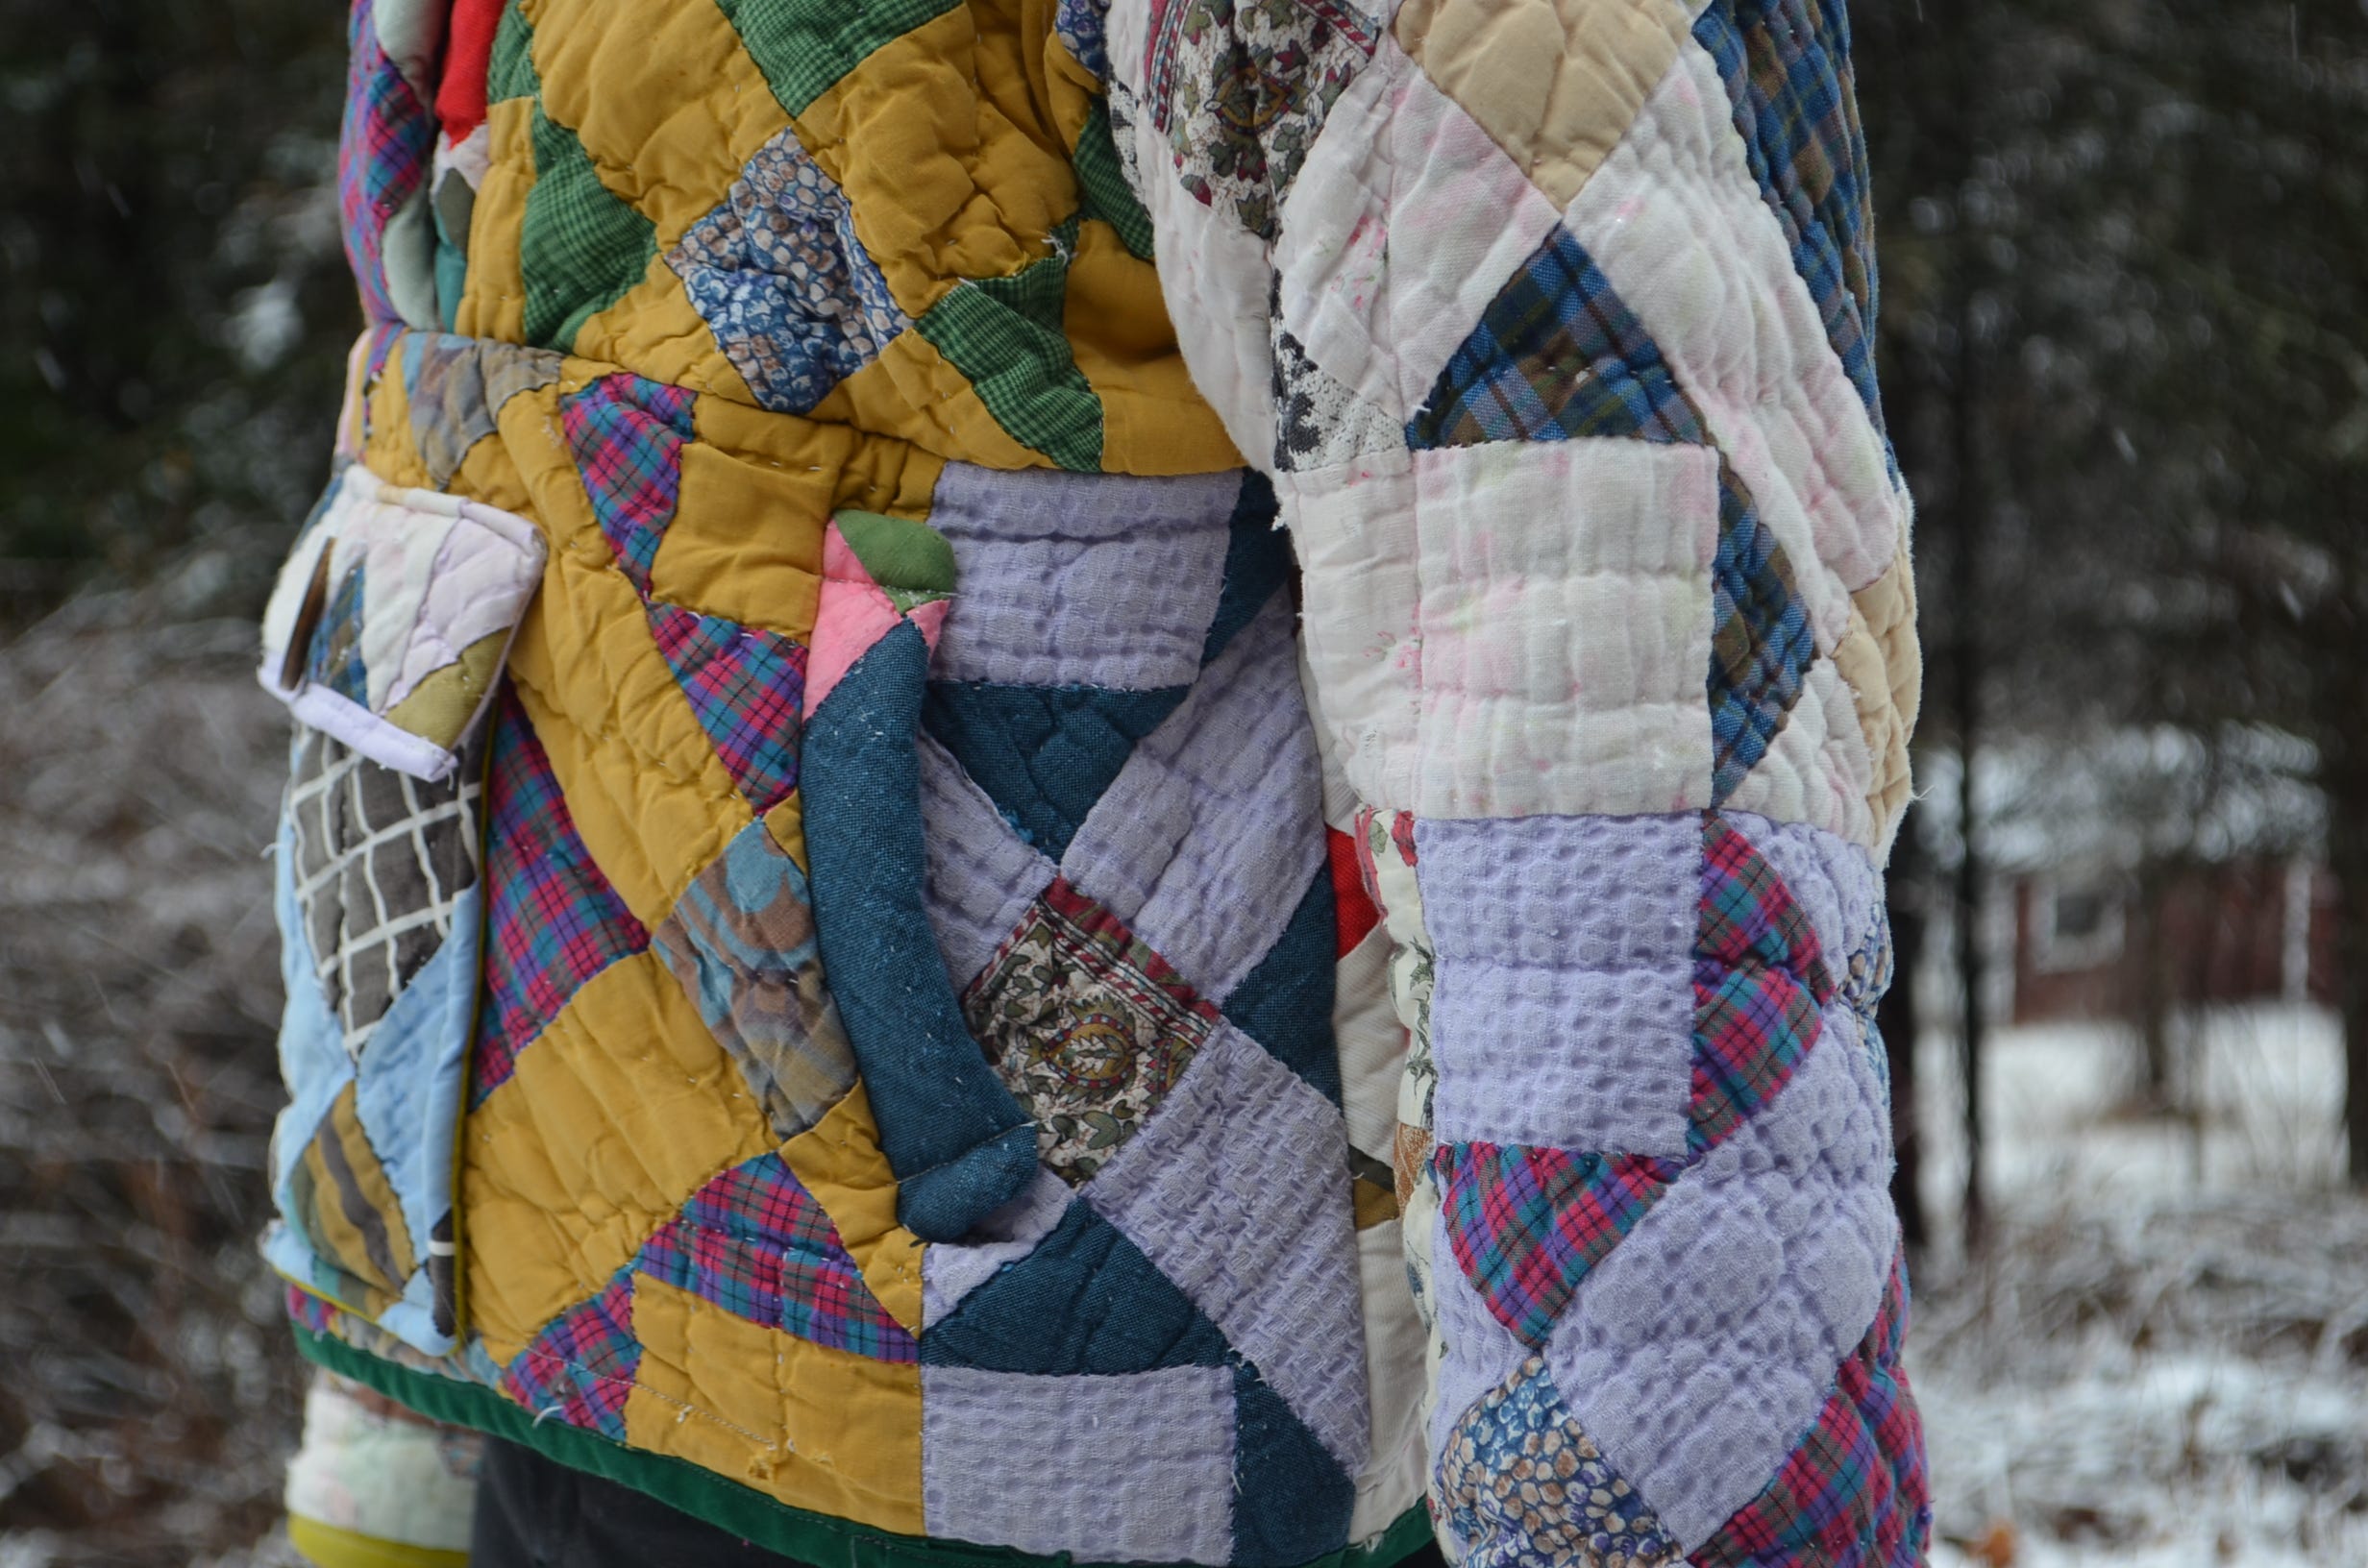
Today we are going to sew a Pognip Pullover from a hand-sewn vintage quilt that I thrifted while visiting my parents. In this walkthrough, I’m not going to go step-by-step through every stage of the sewing construction, but I want to go over all the thinking that goes into making a garment. The total amount of time to make this pullover was about 7 hours.
First, the ideation. After making the button-front quilt coats for Emilio & myself, I knew I wanted to do something a little different for my second vintage quilt. Then I spotted this pullover. And my mind was made up! After a little bit of researching, I decided the Friday Pattern Company Pognip Pullover would be the perfect fit for creating my own version.
There’s a lot of prep work before you actually start working with the fabric. First, you have to purchase and print the pattern. I used to use print-at-home files (the pattern split into 8x11 sheets that you have to tape together, then cut out), but as soon as I started getting the full-size patterns printed and delivered by Pattern Printing Co, I never looked back. It’s slightly more expensive than printing at home, but only slightly, and it saves me up to 2 hours per project.
I decide my size based on the pattern’s size chart, and then I cut out the paper pattern pieces based on that size. This pattern had 7 pieces, some of which needed to be doubled in size (cut on a fold) or cut twice.
Normally I don’t think very hard about how to layout the paper pieces on the fabric, and I use a rotary cutter. But, with a quilt, both of these things are different. I cut all my pieces out with scissors, and I cut all pieces on one layer, meaning if a piece needed to be doubled, I did so without cutting on the fold.
I also paid very special attention to where each piece was laid. This quilt had a lot of damage—holes, shredded fabric, blocks falling apart, etc. So, I wanted to avoid damage while also highlighting my favorite blocks on the coat. I also wanted to use the quilt’s original binding as the hem. Then I cut everything out!


Here’s each piece. The front is made of three separate pieces, and the collar and front plackets (the pieces where buttons go on a shirt) are above the front. Then, the two sleeves and welt pocked pieces are to either side of the front, and the back is at the far right. I was worried that the two yellow pieces on the front didn’t quite work, but in the end, with the plackets and the extra pocket I added (not pictured here) it balanced out.
Truth be told, I cut this whole thing out with the intent of sewing it then and there, but I was really not in the mood. So, I pushed it off a week with the hope that I’d be more excited when the time came (and I was!).
But, I was partially dreading it because quilts, as I learned last time, are not very easy to sew through. They are thick! And sometimes, in a garment you need to sew through four or more layers of the thing at once. With fabric this thick, that’s hard. I broke five needles making this pullover. This means, while I’m sewing along, the needle goes into the fabric and snaps or bends because of the force of the machine into the thick material. This is both logistically difficult and stressful! So I’m glad to be taking a break from such thick and tricky materials after this, even though I love the results.

The pockets are the thing that I spent the most time on. I learned how to make welt pockets for the first time (the two side pockets), and again, not the easiest thing to do with a quilt. This is a sewing technique that really has a reputation of being difficult, but I found it straightforward and very satisfying! I’m super happy with these.
I had never made a flap pocket before either, and the flap pocket is not part of the original pattern, but I winged it with a method that made the thick fabrics as easy to sew as possible. I decided to add it to improve color balance, make the front more visually interesting, and because I was inspired by the flap on the pullover I linked earlier.


From there, the construction was similar to any other top. Sew the front and back together at the shoulders, add the collar and plackets (which is when I started to realize how cute this was going to be; look at that fluffy texture and shape!!), bind the sleeves (which was again a method I used instead of what the pattern recommended because of the thick fabric), sew the sleeves and bottom panel on, and finally the side seams. There were roadbumps—particularly all the needle breaking and attaching thick, thick sections like the plackets. I even had to hand sew a few parts. I omitted the bottom lining piece to avoid sewing though additional layers.
(Inbox cutting off this message? Read the whole post for free on Substack.)


That’s it! I am super happy with it. The quilt is more delicate than the first one I worked with, so I have mended a few of the blocks, and will probably have to continue doing so with wear.


I’m in love! Thanks for swimming along!
Love this and it looks snuggly!! Well done 👏🏻